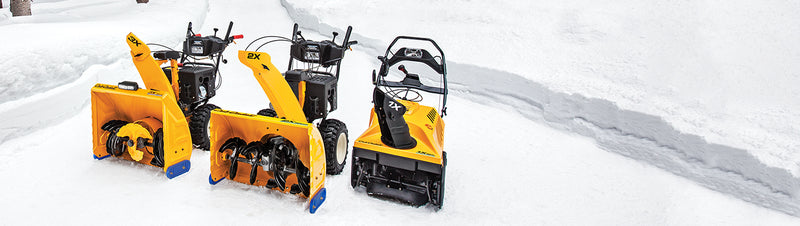
General Snow Blower Usage
QUESTION:
What are some general snow throwing procedures?
ANSWER:
Pre-season (a few weeks before first snow):
- Review the Operator's Manual each season.
- Check maintenance and adjustment items: Make sure your snow thrower is ready when you need it.
- Single-stage snow throwers: drive belt, shave plate, auger spirals, engine oil (4-cycle only), spark plug.
- Multiple-stage snow throwers: slide shoes, shave plate, auger shear pins, belts, drive disc (if equipped), engine oil, spark plug.
- Add fresh fuel and test-run the snow thrower in an open area with plenty of room to maneuver.
First Snow:
- Confirm that there are no hazardous objects to be hidden by the snow in the area to be cleared. It is better not to find that dog chain or frozen newspaper with the snow thrower.
- DO NOT's:
- Do not try to clear solid ice with the snow thrower. It can damage the snow thrower.
- Do not throw snow in the direction of anything you would not throw a rock at.
- Do not try to clear a clogged snow thrower by hand. Turn-off the snow thrower and use snow clearing tool, broom stick, or similar tool.
- If the snow thrower has a throttle control, set the engine to run at maximum speed when throwing snow. It runs most efficiently there.
- If the snow is especially deep or heavy, slow down your clearing pace to avoid bogging down the engine.
- When possible, start clearing snow by creating a path down the middle of the area to be cleared. Work outward from this first path in a spiral pattern, throwing snow to the nearest edge of the area you are clearing. This will pile cleared snow on both sides of the cleared area.
- If snow can only be thrown in one direction, start at the side that you cannot throw snow toward. Widen the path with each pass, toward the side you can throw snow to.
- When using a multiple-stage snow thrower on a gravel surface, adjust the slide shoes to raise the front of the snow thrower. For smoothly paved surfaces adjust the slide shoes to keep the shave plate ¼” above the pavement. Refer to the Operator's Manual.
After Use:
- Turn off the engine.
- Clean snow off of the snow thrower using a broom.
- Check shear pins. The augers overlap and a shear pin could break without the operator noticing. If one shear pin breaks, the auger will still be driving the auger next to it, but the shear pin that drives the second auger will carry twice the load.
FOR MORE INFORMATION, PLEASE CONTACT US OR YOU CAN VISIT THE CUB CADET SUPPORT WEBSITE HERE.